BeagleBone Black Debugging via TI USB100v2 JTAG Emulator
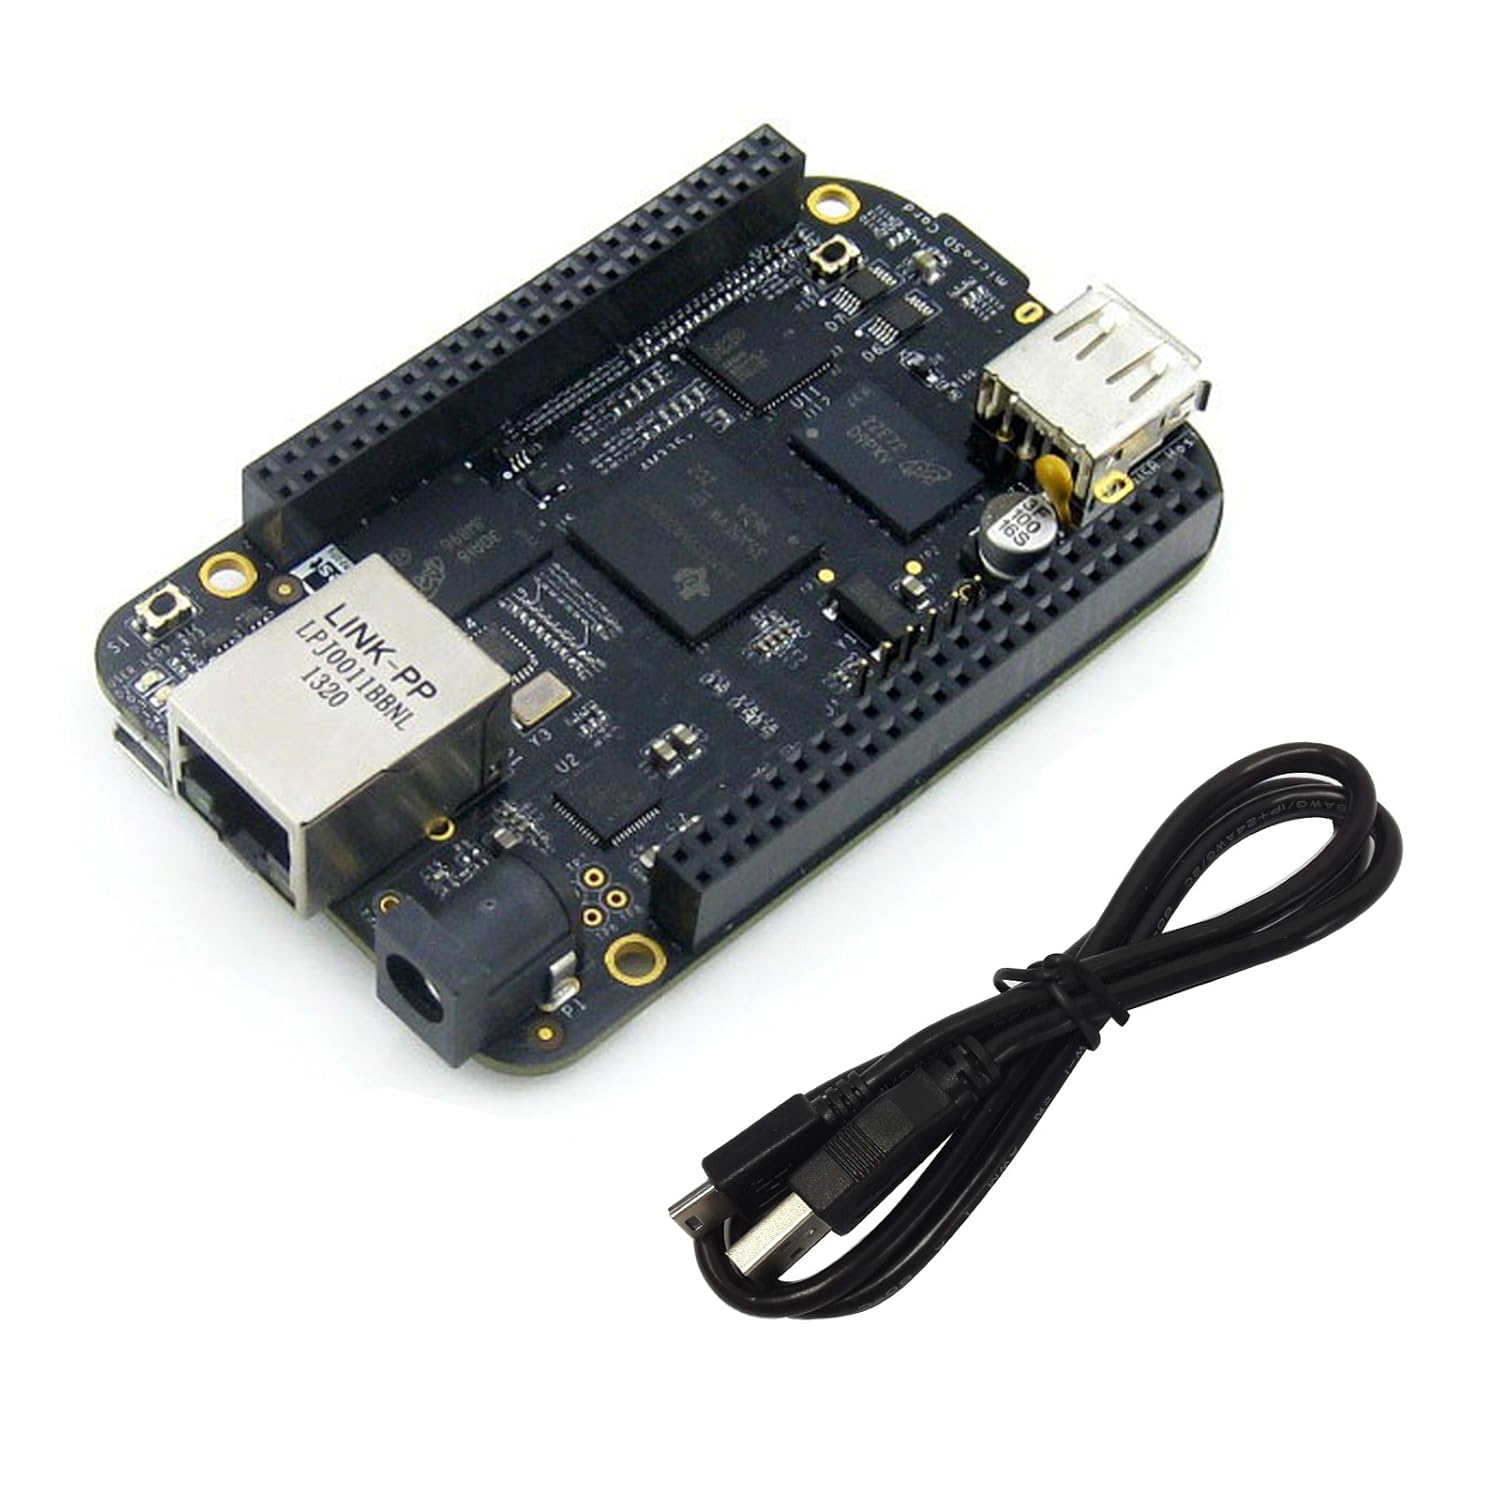 Bought a [BeagleBone Black](http://beagleboard.org/) (BBB) the other day. Awesome little device. 1Ghz ARM-based system-on-a-chip from TI. The device boots into Debian Linux automatically but if you want to program down on the bare metal, you have to flash an image onto an SD card on your PC then put it into the BBB. I never try that out because it sounds like an incredible pain. Also, if I want to just play around with ARM assembly code I can do that by booting in Linux and ssh'ing onto the device.
Thanks to Dean Davis' blog on JTAG emulation for BBB, I was able to get started using, what is effectively, a hardware debugger. Because of all of these system-on-a-chips like the Sitara on the BBB, there are literally no physical pins that you can connect to to ask what's on the bus and what's in the registers and so on. JTAG is the answer to that. I think it's effectively a little serial bus that weaves around to the various components on the chip and then makes that available to devices like TI's "Blackhawk" JTAG Emulator.
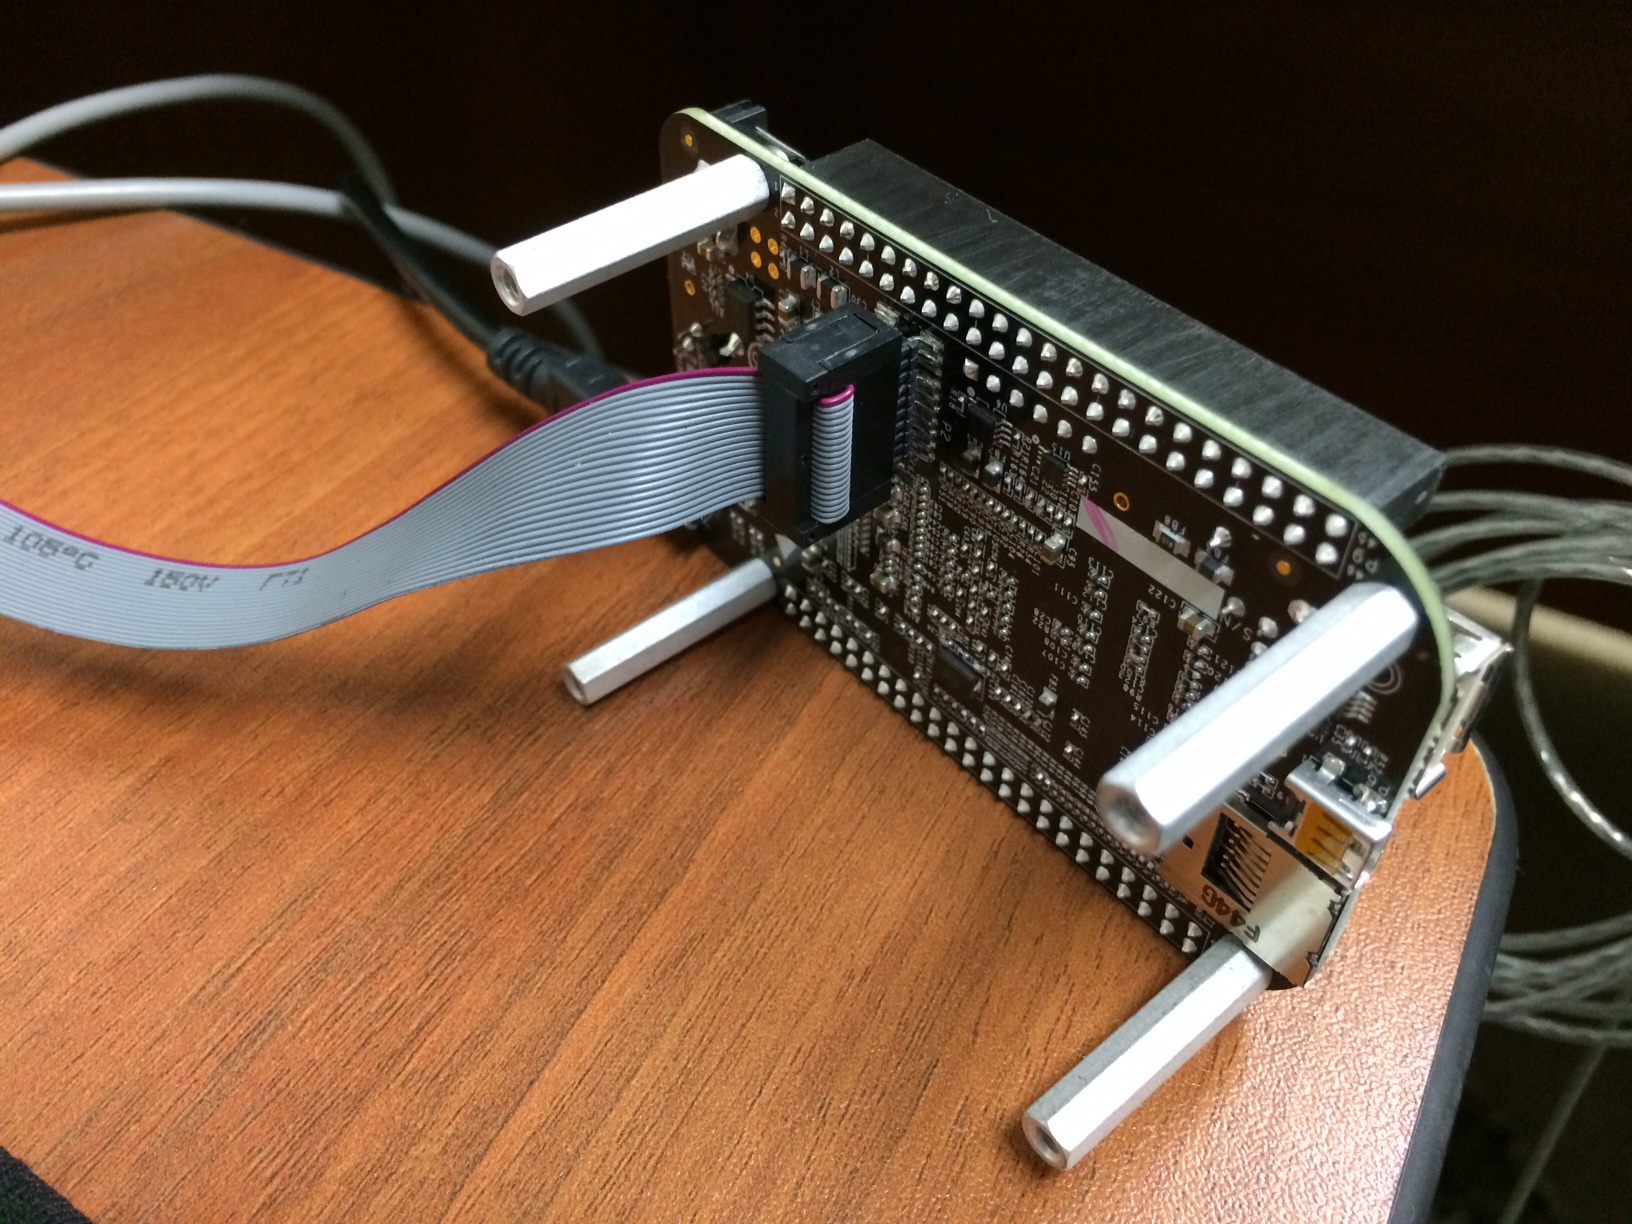
First you have to get a JTAG connector soldered onto the BBB. I bought a complete adapter kit from tin can tools but it turns out all I needed was the JTAG header: Samtec part number FTR-110-03-G-06 20 pin male connector, surface mount, which looks like this once you get it soldered onto the bottom of the board:

You can learn a lot by looking at the BBB JTAG instructions for a different debugger called the Flyswatter2. To actually install (i.e., solder the damn thing on) the JTAG header, you need to watch Dean's video tutorial on installing the JTAG header onto the BBB.
You need to buy the "Blackhawk" TMDSEMU100v2U-20T - XDS100v2 JTAG Emulator (20-pin compact TI connector), which is about $80 and the only one that lets you use TI's Code Composer Studio for free. If you use one of the more professional JTAG emulators, CC Studio costs money to use. When you get that bad boy connected, your rig looks like the following:
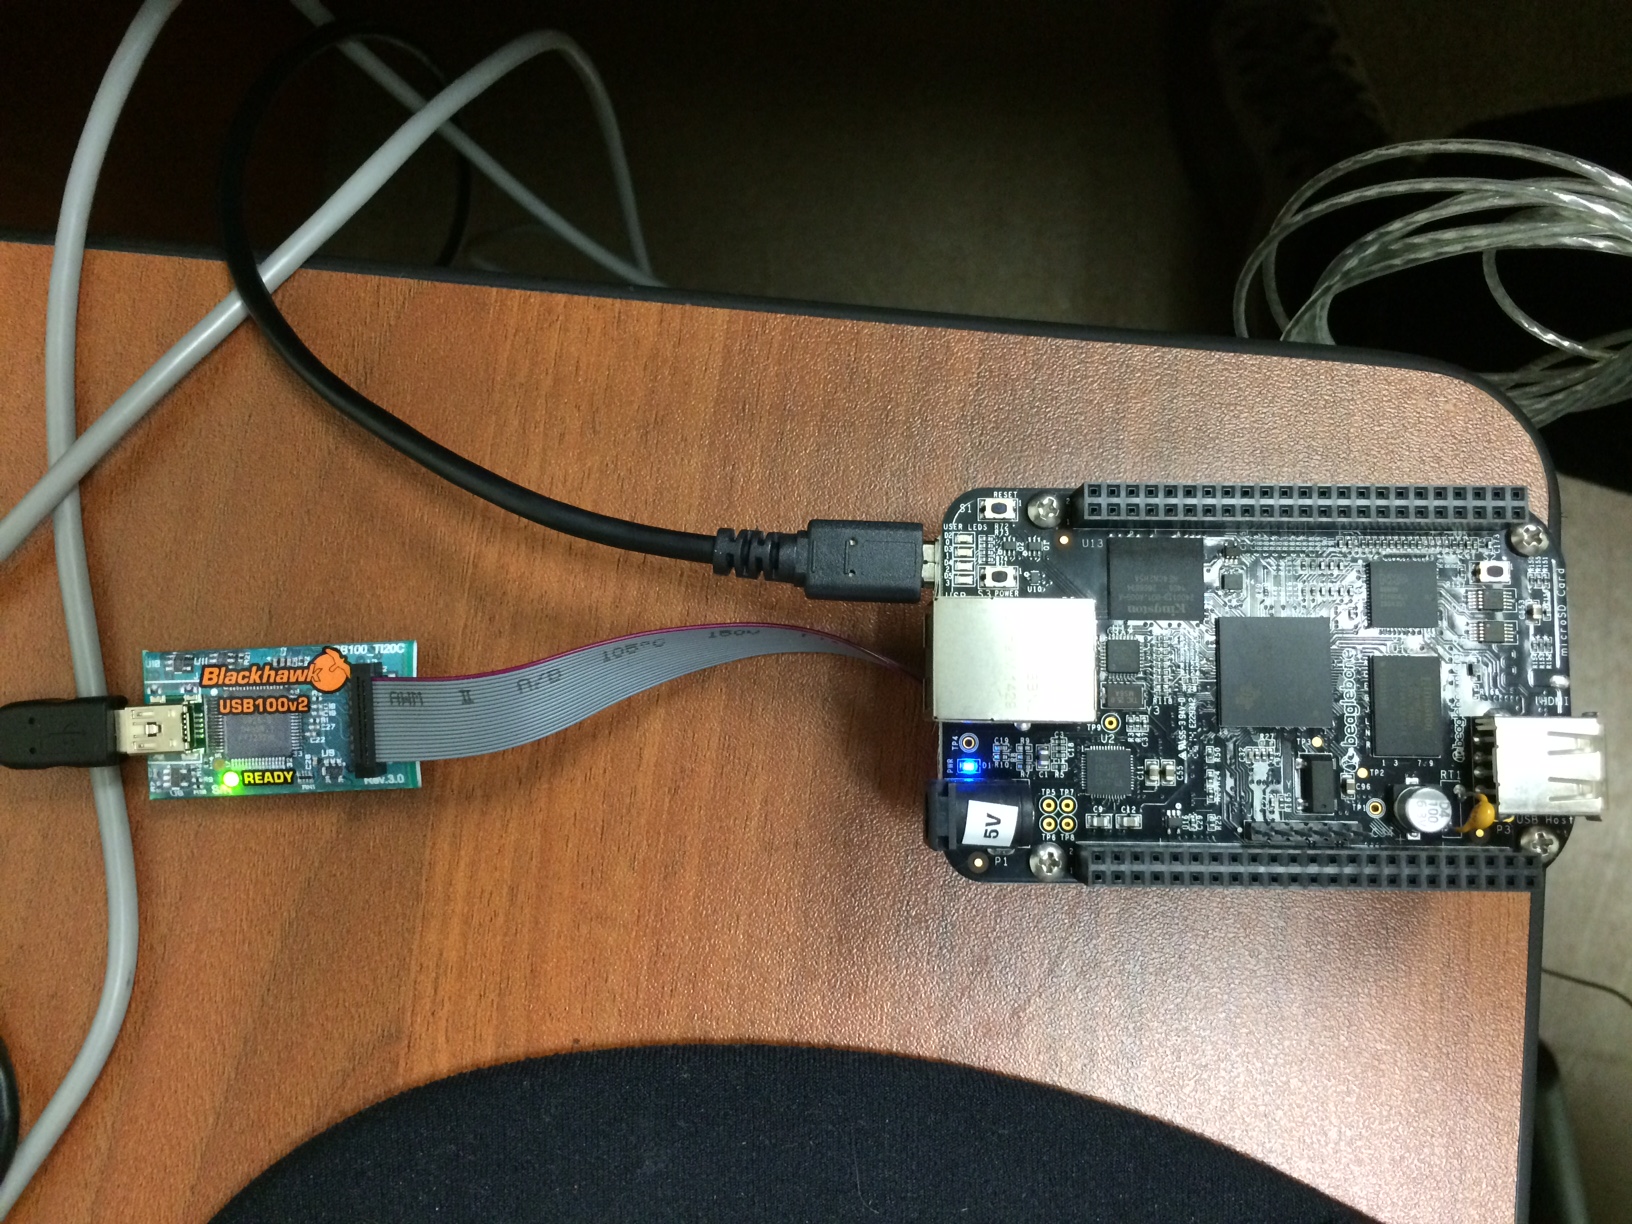
The JTAG emulator connects via USB to your Linux or Windows machine, although I am using a Linux image inside VMWare on my OS X 10.9 box.
Once you download and install CC studio v6 from TI, you can hook up your Blackhawk. Follow the instructions you get with the JTAG emulator. Basically:
- Install CC Studio first! (this installs drivers too)
- Attach USB to PC
- Attach other end of that USB to the JTAG emulator.
- Connect the JTAG cable to the header on the bottom of the unpowered BBB.
Now you can power up your BBB but, since you are going to program on the bare metal with this, you need to avoid booting the BBB in Linux. Hold down the S2 button and then the power button at the same time on the BBB. Keep holding the S2 down for a few seconds after clicking the power button.
TI's Code Composer Studio 6 and BBB
This means you should be ready to try out a simple program. Previously it looked like you needed to worry about these things called .gel files, but a year after Dean Davis' cool blog it no longer appears you do. Here are the screens I saw as I set up the sample hello world program in CC Studio 6.
Under File>New, select CCS Project and then select the target, connection elements, and "Hello World" you see in the following dialog box:
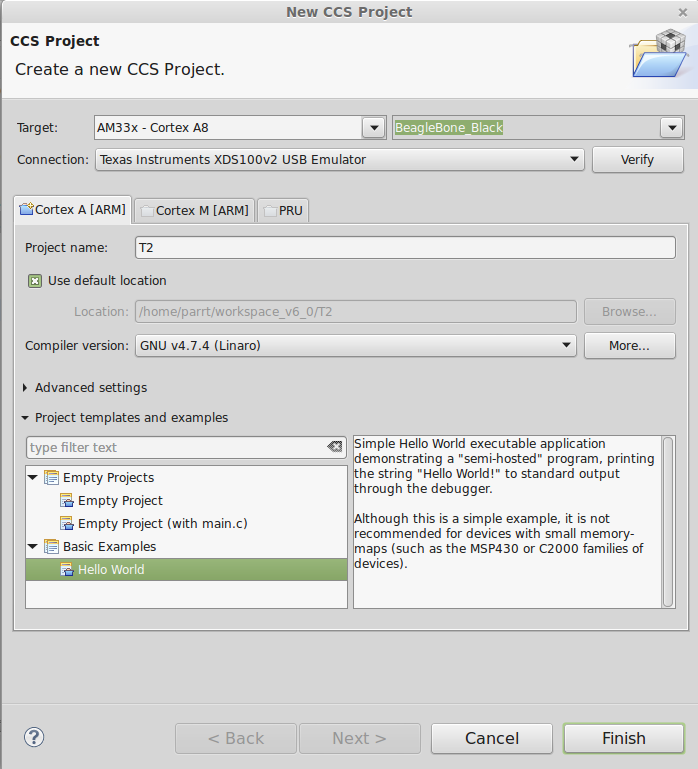
(When I tried using the compiler version from TI not GNU, I couldn't get it to work. It didn't link properly.)
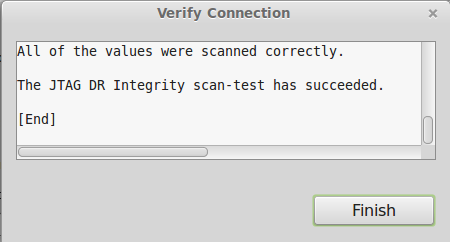
Click on the Verify button and you should see something like this dialogue if you scroll all the way to the bottom of it:
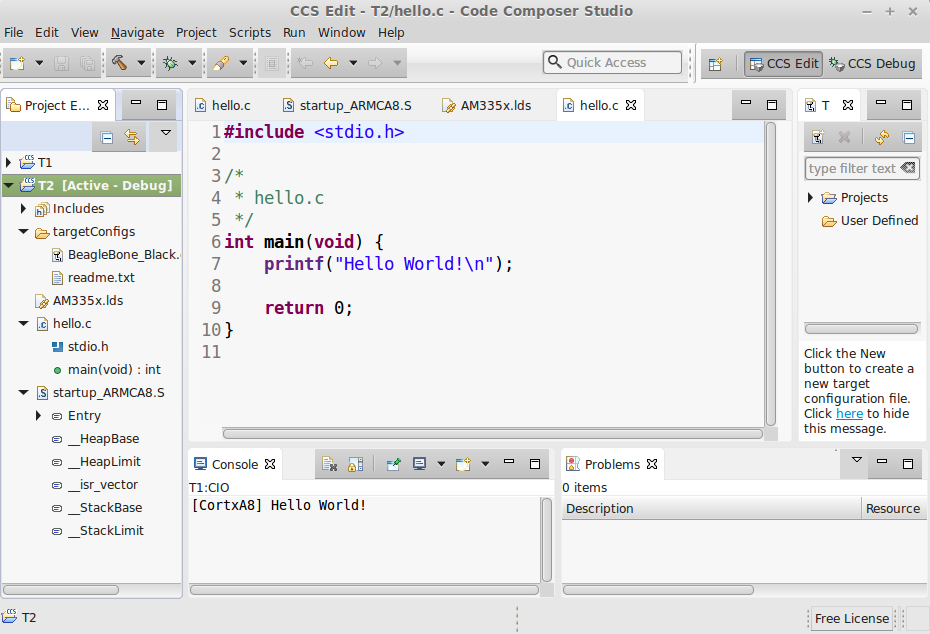
Once you finish that, it should bring you up into your little project:
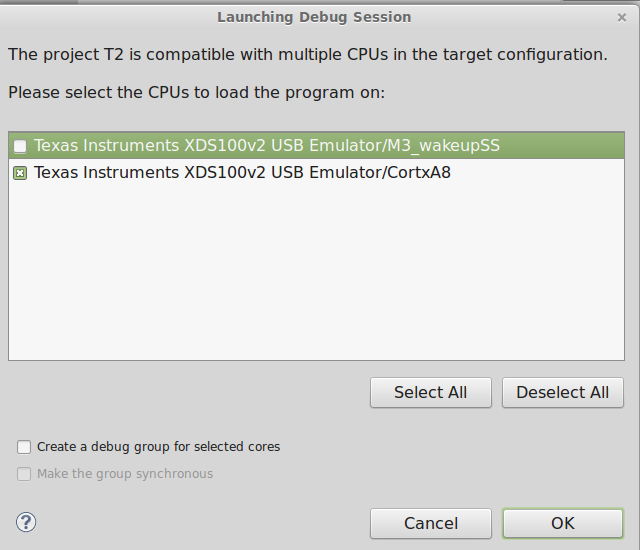
If you immediately hit the debug button (the little bug), it will bring up a dialog box giving you a choice. Deselected the M3_wakeupSS thing, whatever the hell that is, because we want to use the A8 ARM processor to run our code.
Then it will start to send initialization instructions to the BBB via the JTAG emulator. And this lasts maybe 20 seconds.
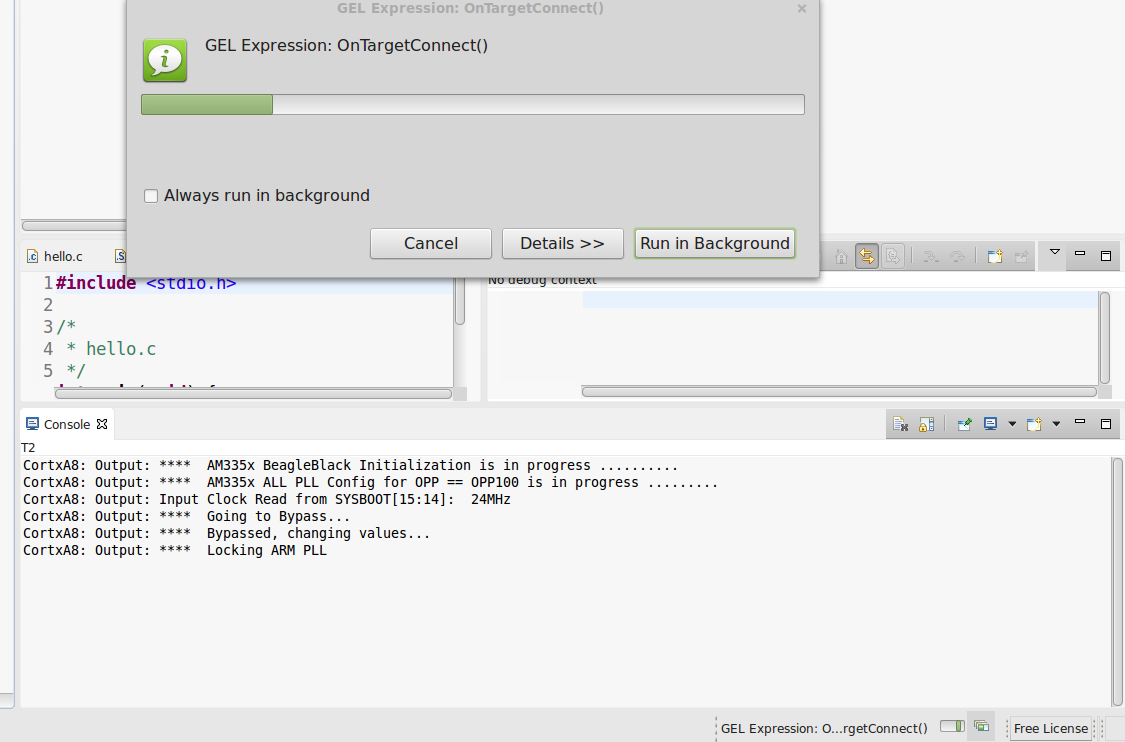
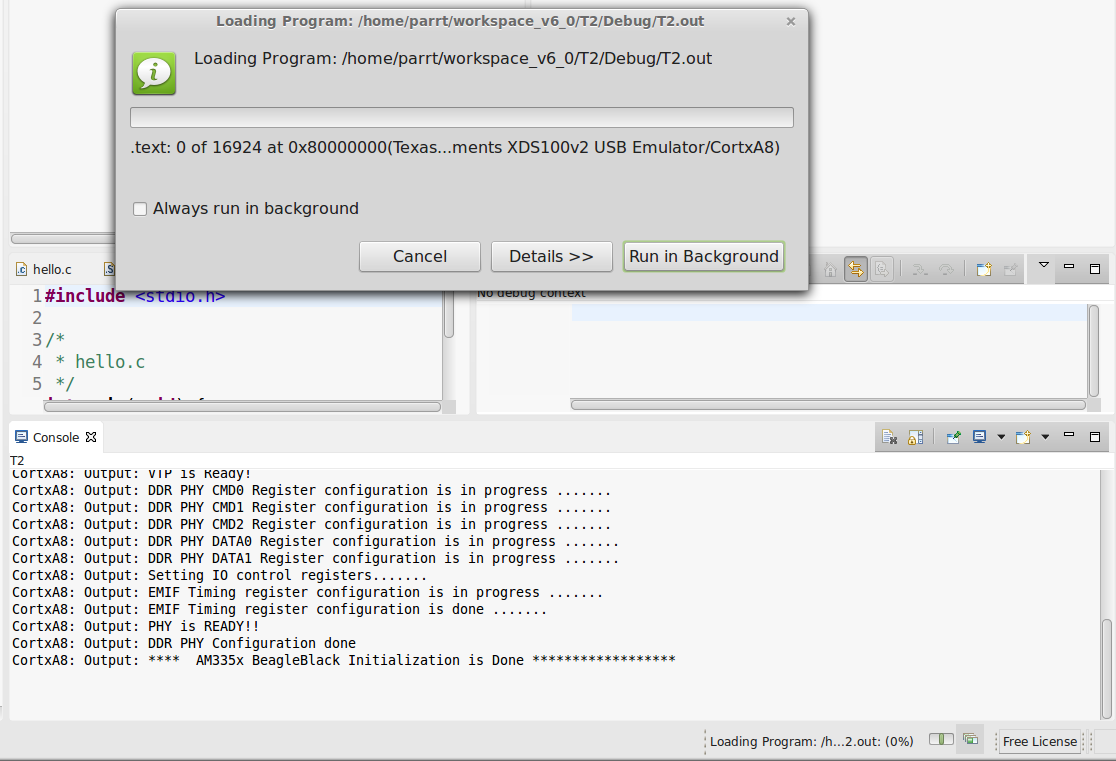
Ultimately, it should say that it successfully initialized the BBB and the dialog box will say that it is loading your program onto the BBB:
After another 20 seconds, it will take you to a breakpoint at the start of your main program:
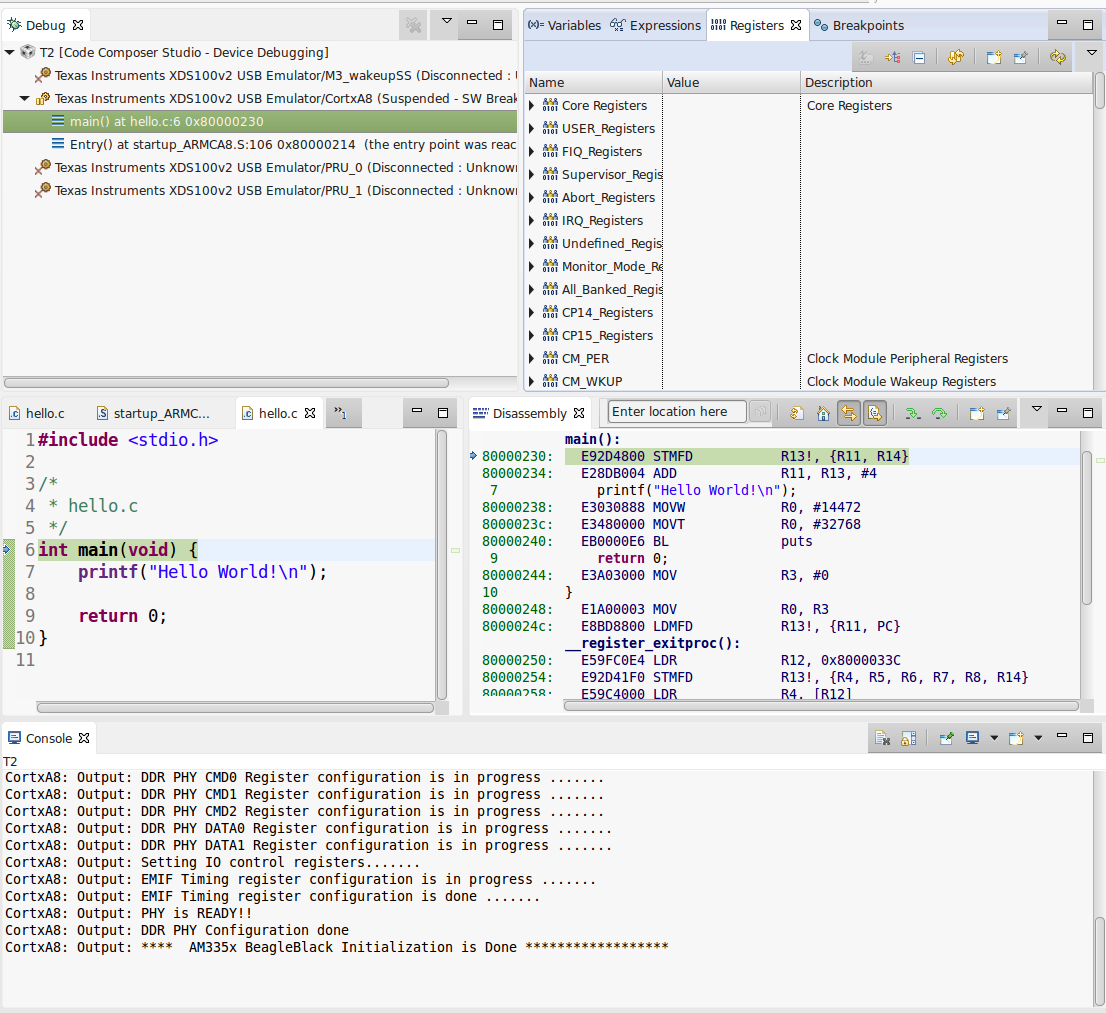
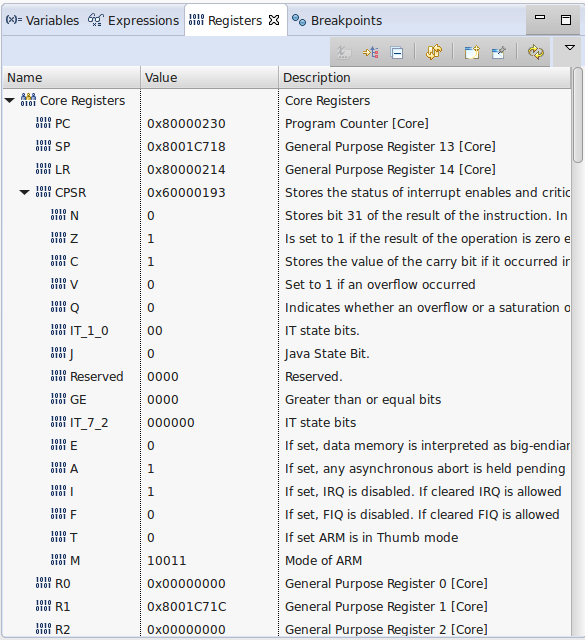
It's pretty cool; you can check out all of the registers as you single step, either by assembly instruction or by C statement.
Debugging from a Mac (slow)
[updated next day]
On the mac, it is unbearably slow and I keep thinking that the CC Studio has frozen but I'm hoping this is a weird thing that is happening because I'm running Linux in VMWare on my Mac instead of running it natively. There is no Mac version so I am stuck. At the very least it's a good way to show people hardware in action even if it's painful. I installed the new version of Linux in a new VMware but the same thing happened.
It turns out that there's just something about using CC Studio from a linux VMWare image that just doesn't work right. I installed everything on a Windows machine next-door and it is not slow at all. I single step machine instruction to instruction without delay. Woot!
I just tried using a Windows XP 64 bit installation on VMware and it is much faster than the Linux VMware but not nearly as fast as native Windows on a slower box (than my mac running VMware).